Hello everybody, hope you’re having an incredible day today. Today, I’m gonna show you how to prepare a special dish, my husband's hiroshima-style okonomiyaki (with photos). One of my favorites food recipes. For mine, I will make it a little bit unique. This will be really delicious.
My Husband's Hiroshima-style Okonomiyaki (with photos) is one of the most popular of recent trending foods in the world. It’s enjoyed by millions every day. It’s simple, it’s fast, it tastes delicious. They are nice and they look wonderful. My Husband's Hiroshima-style Okonomiyaki (with photos) is something which I’ve loved my entire life.
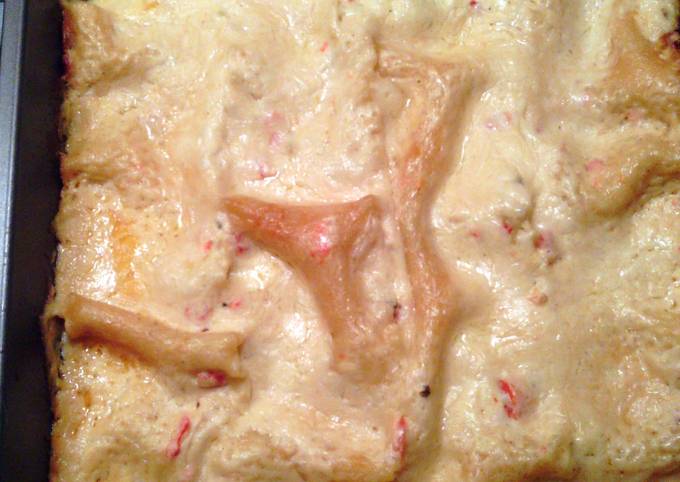
To get started with this recipe, we must first prepare a few components. You can have my husband's hiroshima-style okonomiyaki (with photos) using 12 ingredients and 13 steps. Here is how you can achieve it.
The ingredients needed to make My Husband's Hiroshima-style Okonomiyaki (with photos):
- Take 200 ml ● Flour
- Make ready 70 ml ● Cold water
- Take 1 ● Egg (medium)
- Prepare 1 1/2 tsp ● Dashi stock
- Take 1 Bonito flakes
- Make ready 1/3 Cabbage
- Prepare 1/2 packages Bean sprouts
- Take 1 Squid tempura
- Make ready 200 grams Thinly sliced pork belly
- Prepare 1 Green onions
- Make ready 2 Eggs
- Take 1 Okonomiyaki sauce
Steps to make My Husband's Hiroshima-style Okonomiyaki (with photos):
- Put the ● ingredients in a bowl and mix well to make the batter. Mince the green onion and julienne the cabbage.
- Spread the batter thinly over an electric griddle heated to 200°C. Top with a generous amount of bonito flakes.
- Top with cabbage, bean sprouts, squid tempura, and pork belly in this order.
- On top of the pork belly, pour the batter all over. ※
- Flip it over and press it down. When the shredded cabbage comes out, tuck it under the pancake with a spatula.
- Cover with a lid and steam for about 3 minutes.
- Meanwhile, cook the yakisoba noodles next to the okonomiyaki and season with salt, pepper and okonomiyaki sauce.
- Transfer the okonomiyaki on top of the yakisoba noodles.
- In an open space, break an egg and whisk the yolk and spread it out. Transfer the okonomiyaki on top of the egg.
- Again, cover the okonomiyaki and steam for 2 minutes…
- Flip it over so the egg is on top. Slather with a generous amount of okonomiyaki sauce and top with green onions!
- Cut it with a spatula and eat while hot ♪ (^o^)
- If you want the egg to be soft set, omit the step 10 and just flip over the okonomiyaki ♪ The creamy and soft set egg is also good ❤
So that is going to wrap it up with this exceptional food my husband's hiroshima-style okonomiyaki (with photos) recipe. Thanks so much for your time. I’m sure you can make this at home. There is gonna be more interesting food in home recipes coming up. Remember to save this page on your browser, and share it to your family, friends and colleague. Thank you for reading. Go on get cooking!
Here are any recommended products that are suitable for making your meals on amazon
Happy Cooking & Shopping